Friday, May 20, 2011

Fourth and Final Bouquet of the Prom Season

Well, it's been a good run, learning the bouquet technique, but frankly, I never aspired to be a floral arranger and I'm feeling kind of done with this season's flower bouquets.
This last one is for my graduating senior.  He is accompanying a senior from another high school - whom he has never met - to her prom...a friend of a friend kind of a deal.  But, he still needs to present her with a bouquet.  He showed me a photo of her lovely dress, blue and white, flowy and chiffon, very wafty and fairly like.  I decided to go with blue and white.  I had hoped my own hydrangeas would be ready to snip and include in the bouquet but they haven't started blooming yet.

So, off I went to Trader Joe's and came home with African white roses (sweetheart size), white freesia and blue and white hydrangea blooms.

Here they are before I began assembling.


Since I splurged on the hydrangeas, my flower total was $17.  More than the other bouquets I had made.  But still substantially less than the $50 at the florist.  I already had the stem tape and a I used a 10 cent roll of white bias tape to wrap and pin the handle of the bouquet.

The hardest thing I find is criss crossing the stems correctly so that they remain straight and not bent at the top underside of the bouquet.  This is important so as not to damage the stems and I'm not so good at this part.  Maybe there is some sort of grab and turn floral tool that allows for better bouquet making, but I'm not that advanced.

The final result was lovely and I think it will accompany the dress just fine.  This time, I won't see the girl with the bouquet and I can only hope that my son will hand someone my spare camera when he poses with his mystery date.


The bouquet is now getting some rest in a vase of water in the basement fridge.  I gave it a little mist of fresh water to help it recover from all the twisting and turning I did during the making.

Happy Flower Crafting! 

Thursday, May 19, 2011

Felted Birdhouse #3

When I first took the Felted Birdhouse workshop taught online by Betz White, I designed 4 birdhouses.  About a month ago I had finished 2 birdhouses and one bird.  Originally, I had designed and cut out 4 houses.  This week, with kids home sick from school, I decided to hang out with them and get another birdhouse completed.  I had to take some time from my digital scrapbook project - ongoing to get it done before my son's June HS graduation - to work on this birdhouse, but I really wanted to get it done.

Yesterday, I completed most of it, but today I stuffed it and attached the roof, getting it all stitched together just now. 

Here are the photos.


Just 1 more house and 3 more birds and I've finished all that I started - enjoy!  And Happy Crafting.

Friday, May 13, 2011

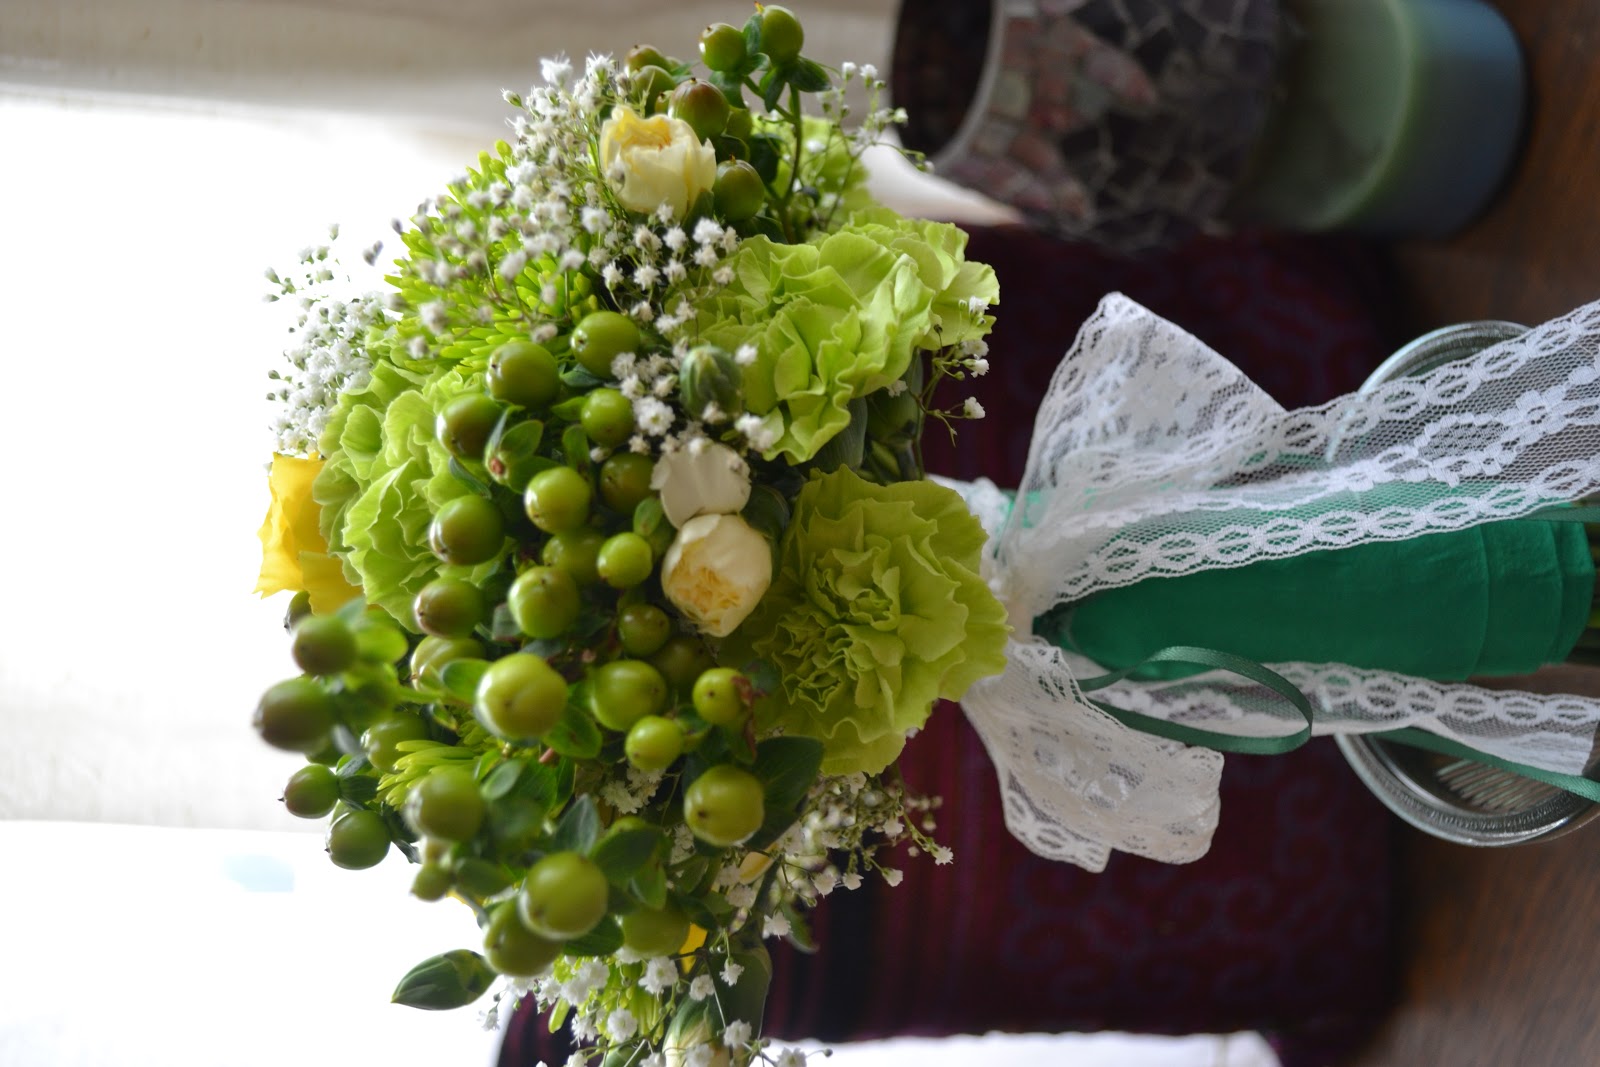
Two More Bouquets - hand made of course

So a few weeks ago I made a hand held prom bouquet for my Junior son's prom date.  It was a success so I decided to do it again.

I struggled this time to find the flowers I wanted.  AND one dress is royal blue and the other is emerald green, a bit harder to coordinate in the flower department.

I picked up the final flowers this morning and set to work. 

Bouquet #1


And Bouquet #2


Both my HS Senior and my HS Junior are attending the senior prom tonight - whew.  I think that's the extent of flower arranging this season.

Final total, $35 for flowers and supplies for both.

Friday, April 29, 2011

PROM BOUQUET - made at home

$50 seems to be the minimum going price for a hand held prom bouquet these days.  CRAZY!  My son gave me permission (with an okay from his date) to give it a go at making one here at home for his junior prom tonight.

I rushed off to Trader Joe's at 8:30am this morning to make sure I got first pick at the day's flowers.

The dress is a purple/lavender color so I went with purples and whites with some greenery picked from around my yard.

Here is the selection of stuff I came home with from the store for about $15.

To decorate the outside of the hand held part, I picked up a few things at JoAnns in the clearance section - most of which I didn't end up using.  The floral tape which sticks to itself as it wraps is a MUST HAVE for this project.  I got it for $1.  The items I didn't use cost $1.50.

I may still use the lavender ribbon around the outside.

I also scrounged around the house and in the sewing drawer (which contains 40 year old products handed down from my grandmother).


I did iron and use a piece of wide satin ribbon which can be seen at the very bottom of the photo above.

Next I cut off the pricky things and excess greenery and anything that didn't look fresh and healthy from my flowers.  I made piles of the cleaned stems.  And got to work  - mind you I was really nervous that I wouldn't be able to do this.

As you add stems to the bunch in your hand, you kind of let the stem fall to the opposite side of where you placed the flower head.  You end up with a big bunch in your hand having added them one by one around the bouquet, making sure they are even and well placed.  It looks like this.

Then came the floral tape and I breathed a sigh of relief as I was able to loose my tight grip on the bundle and give it over to the security of the tape.  I wrapped all the way down to the bottom and then back up to the top. 

Above is the wrap job with the stems still long.

Next, cut the stems to an even and shorter length - with something really sharp.  This was harder to do then I anticipated.

I then wrapped the satin ribbon from top to bottom and back up to the top.  I turned under the ribbon edge and used white headed applique pins - the only appropriate pins I had here at the house.  You can purchase white headed floral pins that are longer and probably better, but these seemed to work fine and hold well.  I went thru the tape AND into some of the stems for security - hopefully this will be okay.

And ta da!  The bouquet is pretty much done.  As I said above, I am pending a decision to add a lavendar bow or bows.  Feel free to offer your opinion on the bow.

Here are some more shots of the finished bouquet.  I placed it in a sturdy vase that wouldn't crush the flowers and put a scant bit of water in the bottom to keep the stems hydrated.  I removed a shelf from our extra fridge so there was room for it to stand in the vase without touching anything and gave it a final spritz of water on the blooms to keep it fresh.  I hope this will work and by 6pm tonight it will still look good!


Ah - now to breathe a sigh of relief!  Enjoy!
Related Posts Plugin for WordPress, Blogger...